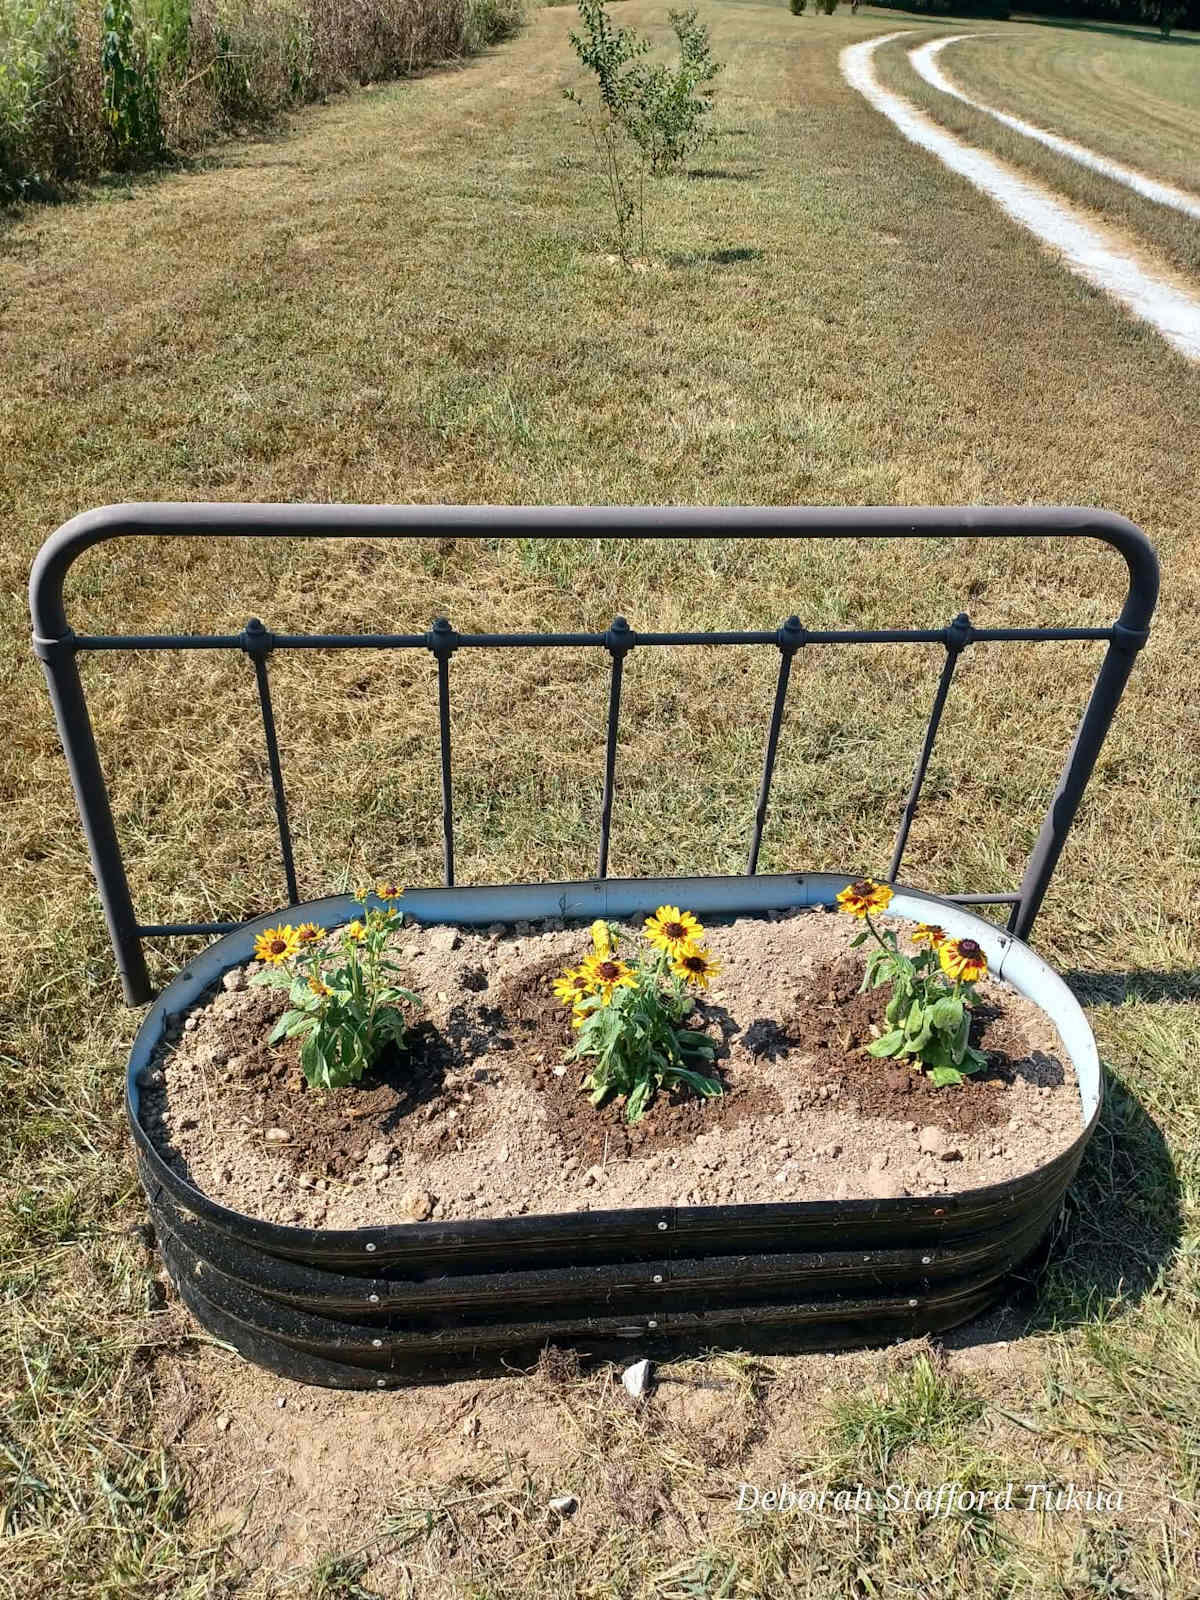
This DIY project yields two matching flowerbeds with trellises repurposed from a metal headboard and footboard.
Our latest DIY landscape project—a matching pair of flowerbed and trellis features for both sides of our long driveway. Galvanized raised planters make planting and caring for flowers easy. But they lack pizzazz.
Repurpose to the rescue. I swooped up a free full-size metal bed in mint condition on Marketplace to repurpose for this project. Placing a decorative metal headboard behind each planter adds height, interest, and a sturdy trellis for growing climbing, vine plants. This new functional and attractive feature will enhance and showcase seasonal flowers and greet guests at the foot of our driveway for years to come.
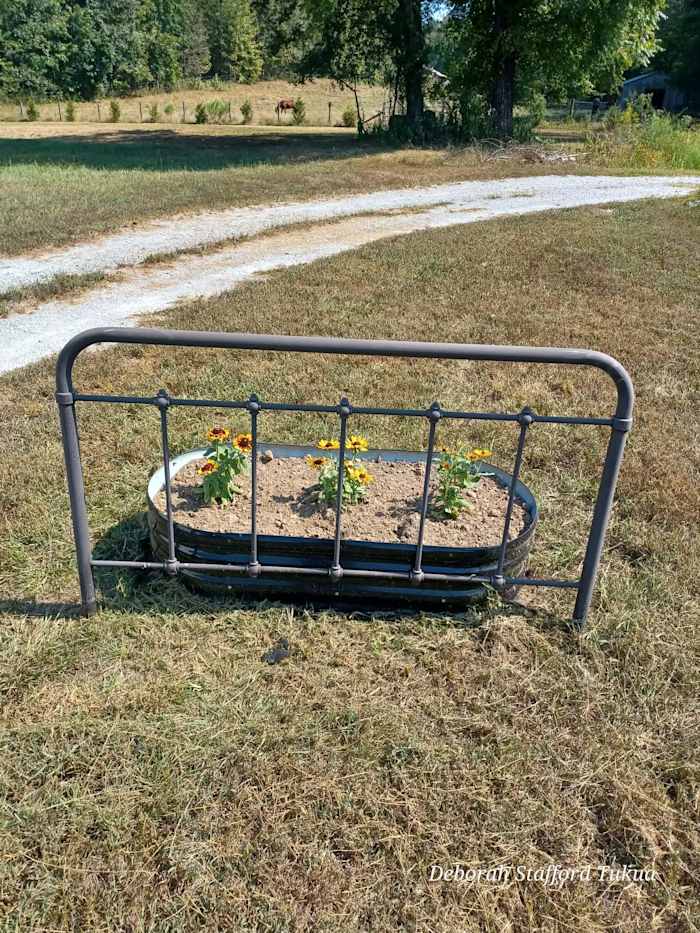
(Back view of the planter bed project shows detail and placement of headboard.)
As you can see, this is a work in progress. The planter will look much prettier once the plants fill out, more are added, along with mulch. For fun, I created a fall theme vision for this planter, see below.
Materials Needed:
Metal headboard and footboard – full size (or your choice)
2, 4-feet wide galvanized raised planters – (if using full size bed)
Weed barrier, landscape fabric
4 Rebar posts, for two flowerbeds
Soil, flowering plants or seeds, bulbs, and mulch
Instructions:
Select a metal bed with matching designs in the headboard and footboard. Headboards are usually taller than footboards. If that’s the case, remove one extension piece from the headboard to make it the same height as the footboard.
The width and color of the bed should be close to the same as the metal planters, so it appears as one unit. We found a bed first then ordered planters in the same color, so spray painting wasn’t necessary.
Once you’ve selected a spot for each flowerbed, cut the grass low to the ground using a weed eater.
Spread the weed blocking landscape fabric on the ground and smooth out. Add rocks, steel landscaping staples, or anchoring stakes to the edges of the fabric to hold it in place. Position the assembled raised planter on top of the landscape fabric, leave some excess and trim later.
Place the headboard behind the planter, leaving no more than one or two inches between. Drive the ends of two rebar posts firmly in the ground with a heavy-duty hammer. Then slide the hollow metal legs of the headboard over the upright, rebar posts.
Fill the raised planters with soil and you’re ready to plant seeds, bulbs, or flowers. Water plants often until established. After planting, add a layer of mulch.
Note: I planted three Black-Eyed Susan plants in each four-foot-wide planter to allow the plants room to spread as they grown. In October, when the soil cools I’ll plant daffodil bulbs in the spaces around these summer blooming perennials. In the spring, I’ll shop for a trailing plant to spill down the front and soften the look of the stark metal planter. That way, we’ll have lovely flowers to enjoy spring and summer and early fall.
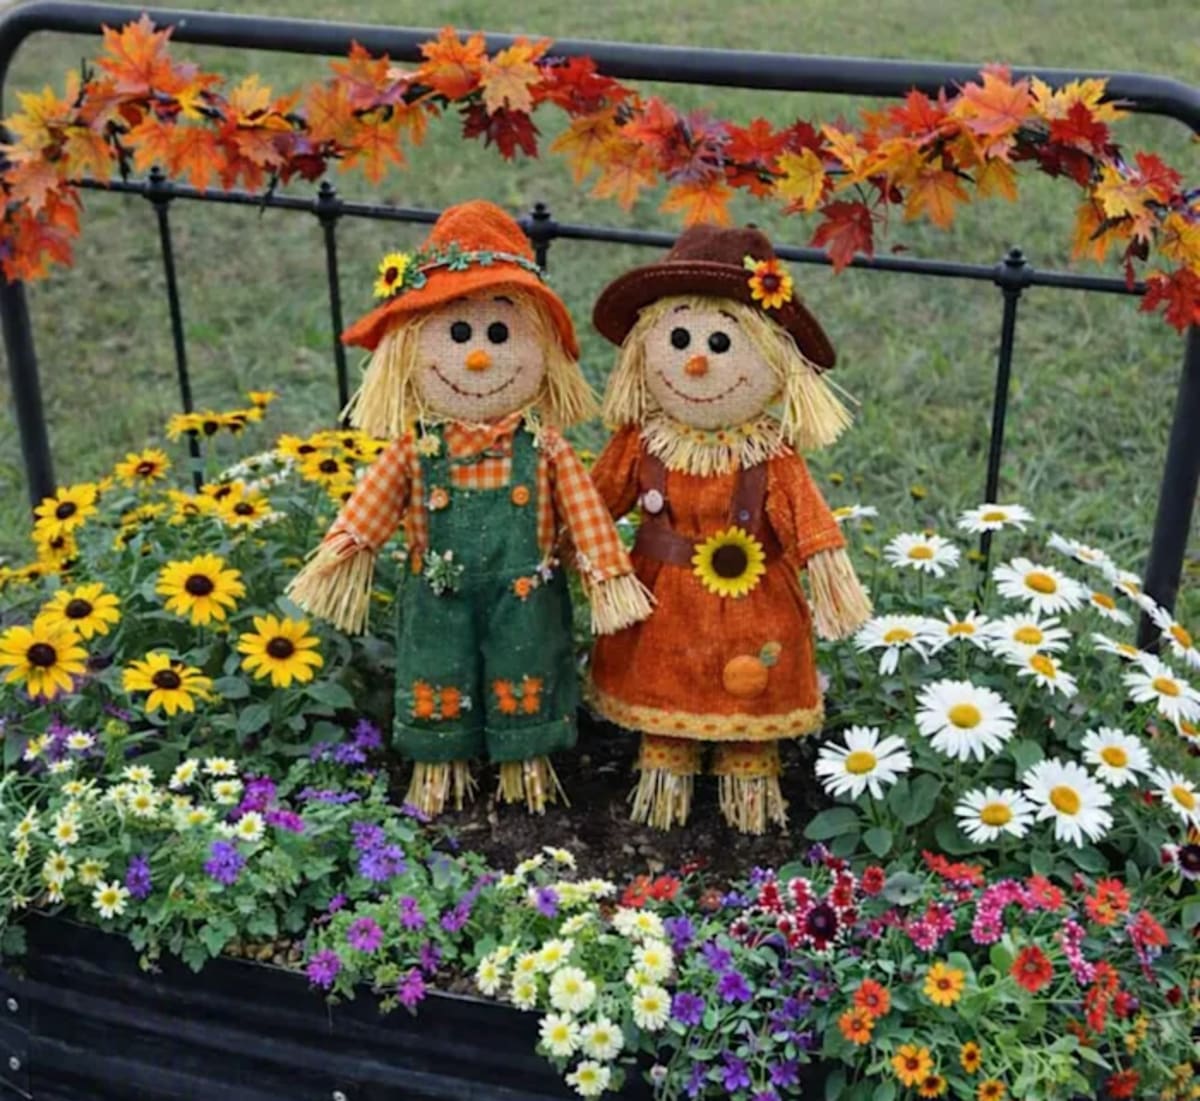
Fall Theme. A scarecrow and a garland of autumn leaves draped around the headboard adds a cute touch of autumn to these planters too.
Happy Fall Planting. At home on Holly Creek.
by Deborah S. Tukua. author and freelance writer
Join us at www.deborahstukua.com