Scarecrows are synonymous with fall. Surrounded by an autumnal palette of colorful leaves, pumpkins, Indian corn, gourds, mums, and more, a scarecrow complements the seasonal decorations. My ideal scarecrow face is cheerful, one that brings a smile to my face. Scarecrows are fall’s signature smiley faces. So, let’s make a scarecrow to welcome guests this fall.
Scarecrow Making Event and Contest
During our homeschooling years, our family hosted a Scarecrow Making Event and Contest. It was such fun. Each guest (or family) brought clothes for their scarecrow and a completed head with hair and face.
As the host, we provided an outdoor space for everyone to assemble their scarecrows, bamboo poles lashed together, and a bale of straw for stuffing each scarecrow.
After each scarecrow was ready, a panel of judges made it a real contest of creativity. A blue ribbon was awarded to the best scarecrow, making it official and fun!
Fun Notes: Take plenty of photos of the crew with their scarecrows. Your guests can arrive dressed like scarecrows too wearing face paint, a flannel shirt, jeans or overalls, and a straw hat. You’ll have the makings of a cute group photo and a memorable event everyone will want to repeat annually.
Assembling the Scarecrow and Stand
Select a theme for the scarecrow. Gather clothes–jeans, belts, overalls, jumper dresses, aprons, vests, flannel or denim shirts, hats, caps or bonnets from your closet, thrift store, or yard sale.
Prepare and decorate the head before assembling the scarecrow. The head can be a stuffed pillowcase, burlap or flour sack, Styrofoam, or a large, painted gourd with a hole cut at the narrow end, to fit over the garden stake.
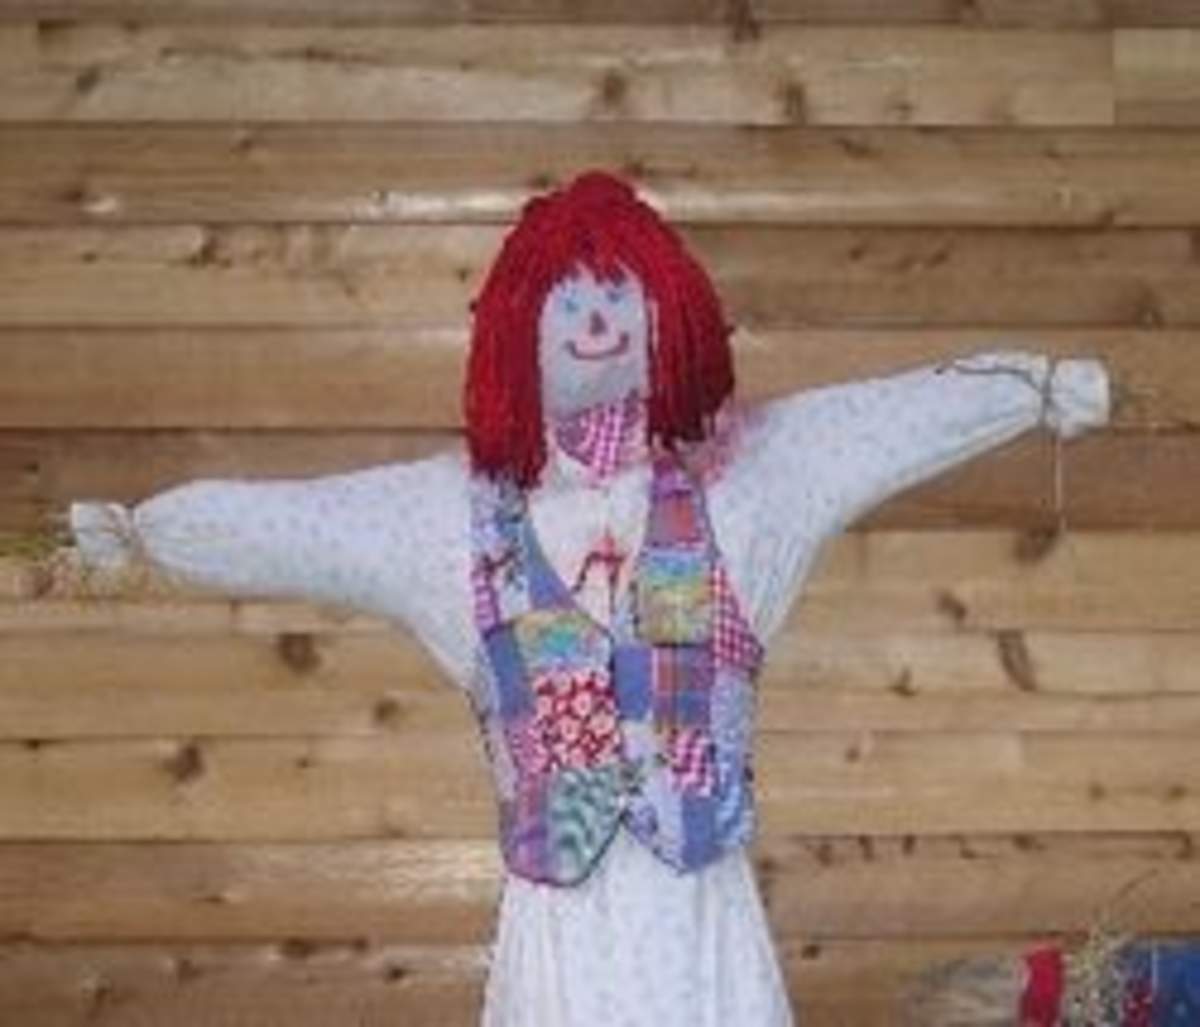
Example. See the picture of Raggedy Ann. I painted the gourd, added a face, and a mop head, after dying it red for her hair.
Faux hair can be made using corn husks, leaves, raffia, moss, corduroy fabric, yarn, a mop, or a wig. One way to assemble the hair is to attach your choice of “hair” material to the insides of a hat or cap.
Supplies:
- Bale of straw for stuffing. Or you can use plastic shopping bags, fiberfill, or old pillows.
- Twine or zip ties
- Scissors
- Bamboo garden stakes/poles (two for each scarecrow)
- Hacksaw (for cutting the bamboo)
For each scarecrow:
1. Cut two bamboo garden stakes/poles– one 3’ ft. and one 5’ ft.
2. Lash the shortest bamboo pole horizontally to the longest, vertical one using twine or a zip tie. (You can use mop or broom poles, instead of bamboo.)
3. Slip clothes over the bamboo and stuff arms, torso, and legs with straw, plastic shopping bags, or pillow stuffing. Secure sleeves, legs, and torso openings with twine to keep stuffing in place. Helpful dressing hint–Slip a t shirt over the bamboo first and secure the stuffed torso tight. Then, top with a buttoned shirt and it can drape naturally.
4. Secure the scarecrow head to the top of the vertical pole.
I’ve made a few scarecrows, some resembling friends we’ve honored. Those are the most fun. Wish I had time to dig more pictures out to show you. Currently, I’m gathering clothes and such to make a new scarecrow. Looking for creative ideas.
Until next time.
Happy Scarecrow Making.
By Deborah S. Tukua, author, and freelance writer